Masked background shaker card

Hello everybody!

Yes it is me again 😉 I have been full of ideas lately I am happy as it does not happen so often.

Today I would like to share with you a shaker card! I love making those, they are so much fun!

I first made my background, using a lot of masking tape and creating these colourful stripes ( I was actually inspired by my shower curtain 🙂

2

I was thinking what to do with it, what can I add… (pictures here are of me putting together the shaker) I first wanted to make it a regular card and add a sentiment in the middle where the white space is broader, but then I decided to add a shaker. This card is actually a combination of two cards. First one was supposed to be a card with many of these colourful stars, but I decided to put them in a shaker instead! 🙂

1 3

The shaker was inspired by the picture from the Card Concept challenge, with all these stars:)

29

Here is the ready card

8

5

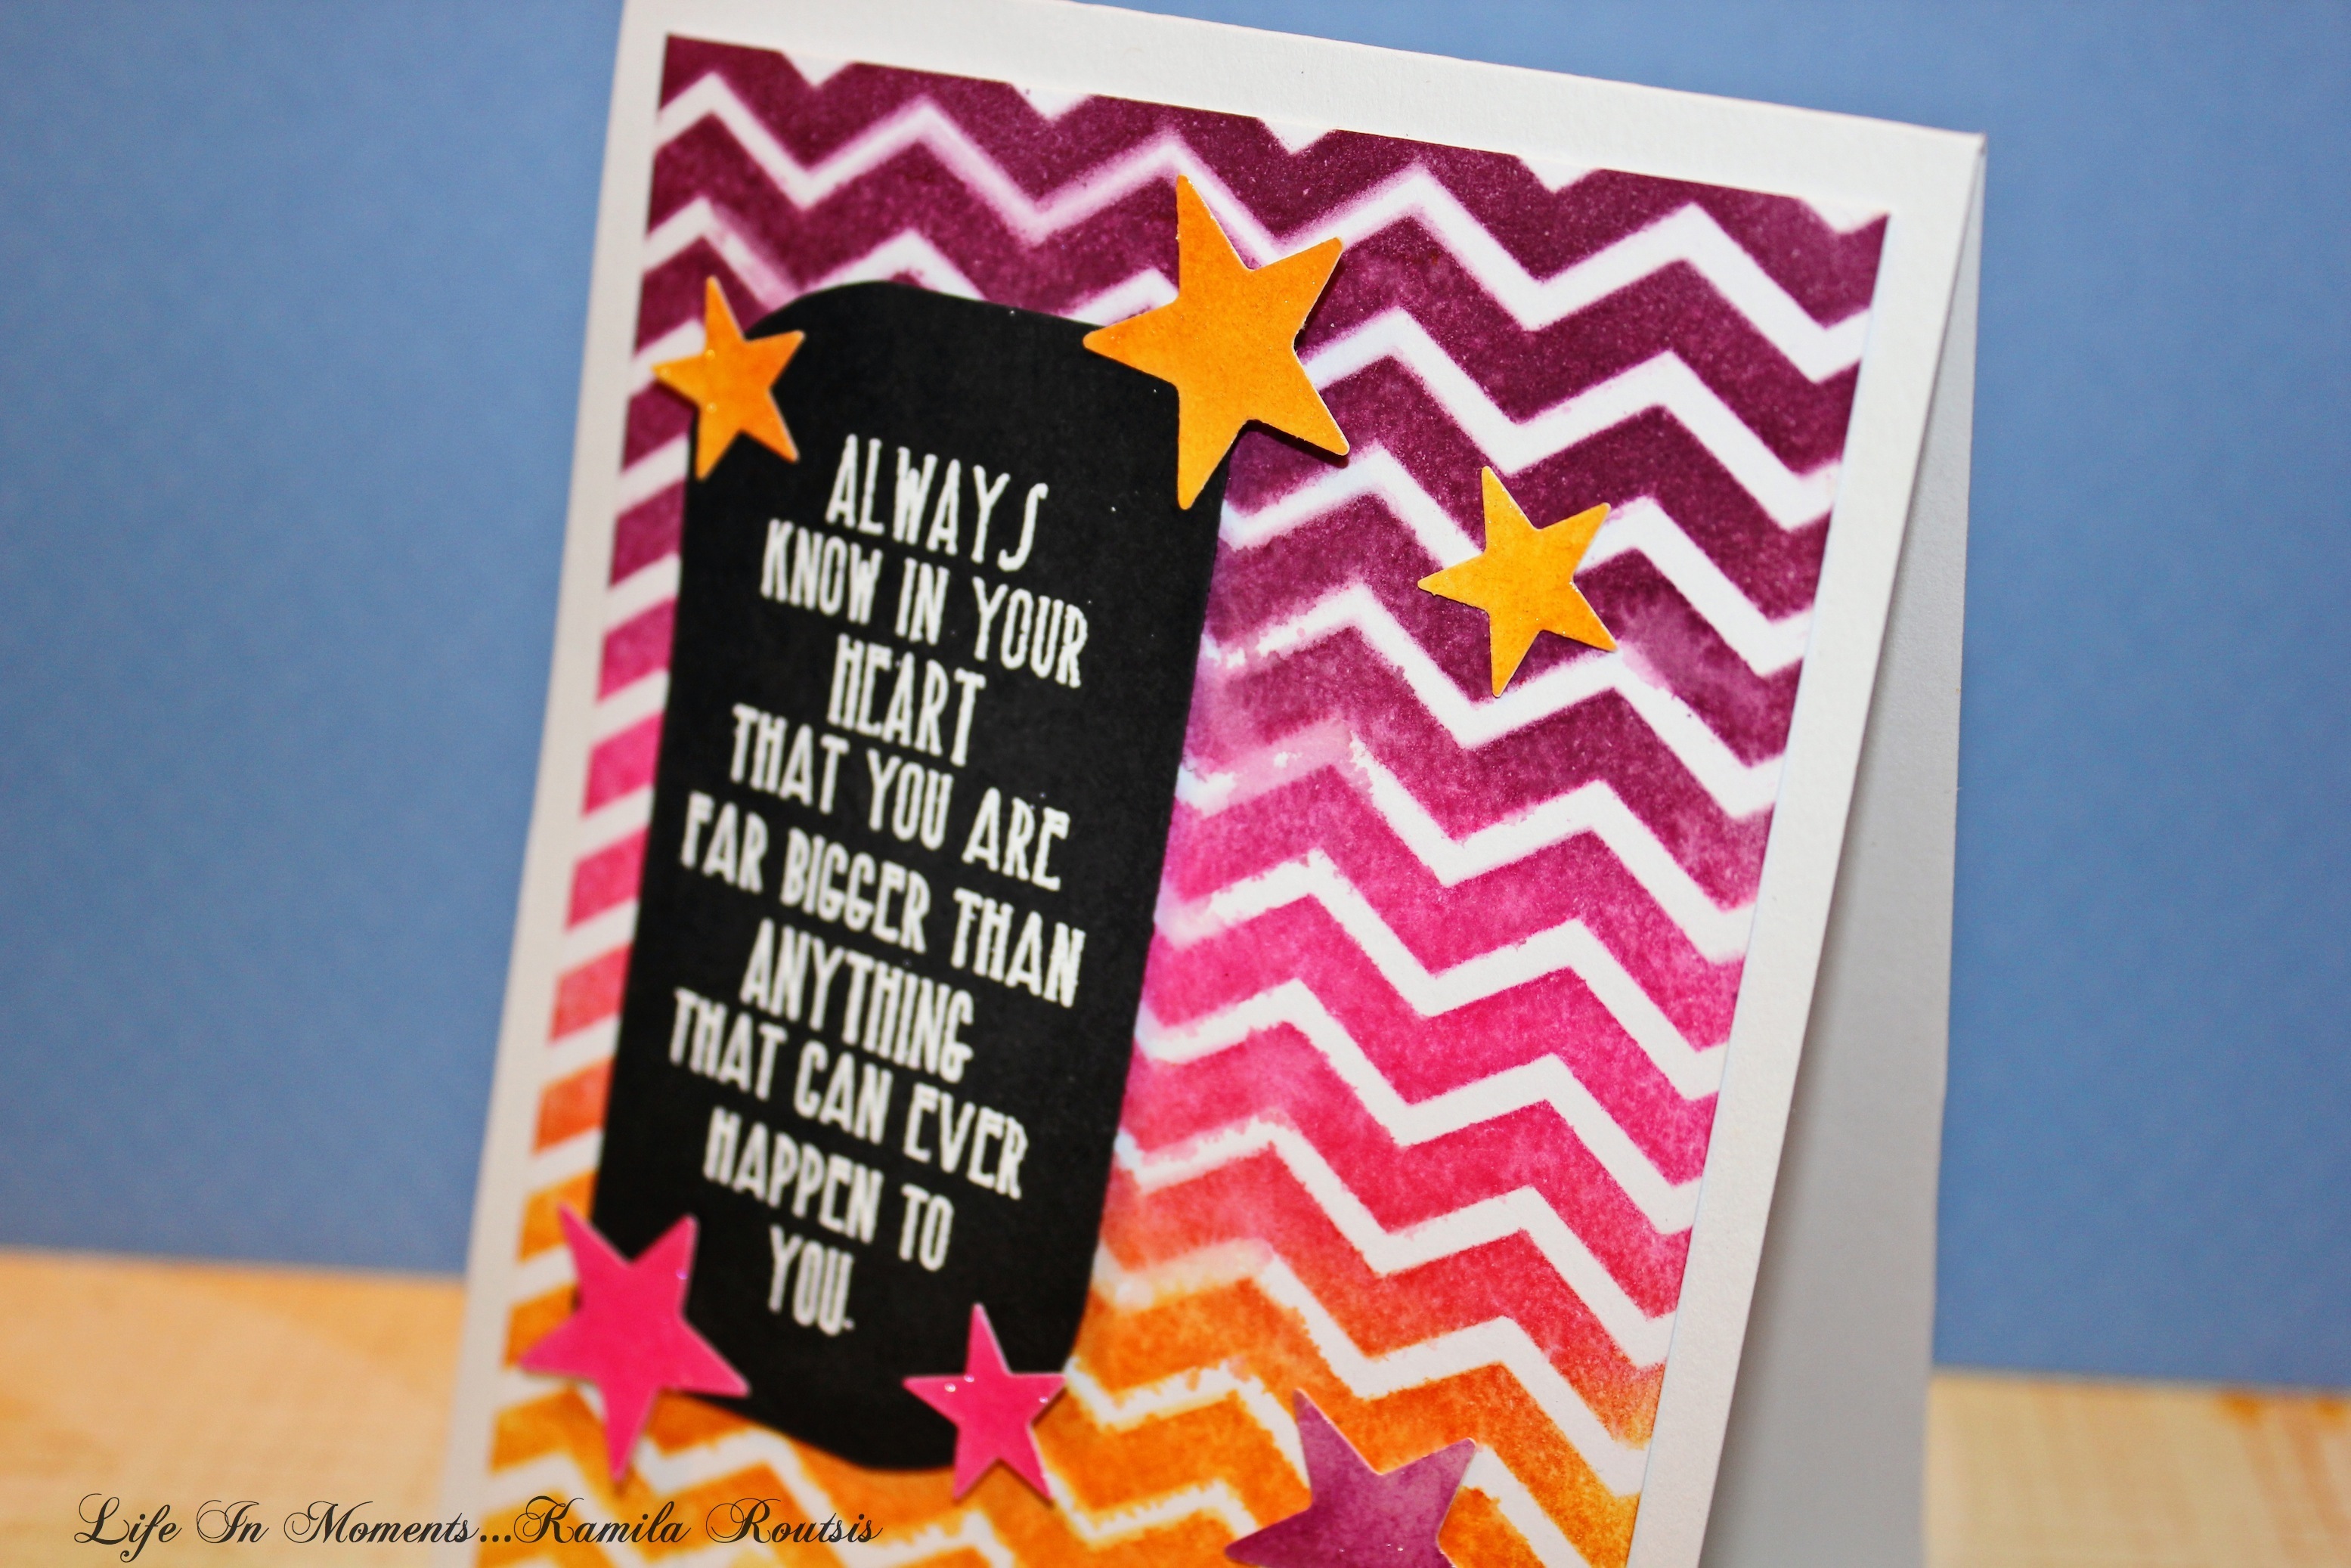
For the background I used Distress Inks, which I blended against my masking tape. I used Festive Berries – my favourite red from Distress right after Barn Door, Spiced Marmalade, Mustard Seed, – a happy accident, Evergreen Bough – I reached for Peacock Feather but took this one by accident – I think it actually looks better and Salty Ocean.

I used Versa fine Onyx Black for the sentiment, punched out the stars, some out of cardstock and some out of white cardstock with blended distress ink on them. Sentiments are from: Friend – Hero Arts – Friends stamp set, and Feel better soon – Gina K. designs – One in a Million stamp set.

I will enter this card in the following challenges:

Card Concept challenge #29 – Get well soon

Addicted to CAS – mask challenge #57

Through the craft room door – anything goes

Simon Says Stamp Monday challenge – No rules

mondayblog-logowednesdayblog-logo

SimonSaysStamp Wednesday challenge – anything goes

Tuesday Throwdown – Anything  Goes

I hope you like today’s card if you do, let me know, I love reading your comments! 🙂

Thank you for stopping by,

take care,

Kamila


Orange CAS birthday card

Hi there!

I wanted to share a new card with my fellow crafters today!

This time it is a very simple – CAS 🙂 card, with orange elements. I blended Distress Ink on some cardstock and die cuts different size circles, popped them on some foam adhesive for dimension and that’s it! Birthday card is ready 😉 Sometimes it is refreshing to make a very simple card…

I hope you like it!


3

1

2


ShowCASe your style – Birthday 

Uniko Studio – challenge #18 – Birthday

AAA cards – game 33 – Orange U glad UR CAS

Simon Says Stamp Monday challenge – Anything Goes

Through the craft room door – anything goes

Party Time Tuesday challenge #195

Tuesday Throwdown – Anything  Goes

Thank you for visiting!

If you like the card – drop me a line!

Have a great day!

Kamila

Birthday card with some sparkle

Hello !

Today I would like to share with you a birthday card with some golden embossing and watercolours done using Distress Inks since I do not own any water colour paint yet.

I went with the same colour combination as my last card, pink and green/blue so Picked Raspberry and Peacock Feathers. I just love this colour combination! On top of all that we have gold embossing powder which I think looks fantastic against these two colours! I did emboss resist technique, I embossed the flowers – you might call them flowers I guess 😉 and heat embossed them and then applied the inks with water.

1 2

3

4

I hope you like it, let me know what you think by leaving a comment 🙂

I am entering this card in the following card challenges:

Little Tangles – challenge #53  – watercolour

ShowCASe your style – Birthday 

Happy Little Stampers challenge – Embossing 

Dream Valley Challenges – your favourite colour combination challenge #100

Uniko Studio – challenge #18 – Birthday

Simply Create Too – Anything Goes 


Thank you for visiting!

Take care and see you again soon!

Kamila


Blending Distress inks over golden embossing

Hello again!

I have another card I wanted to quickly share with you guys!

This time it is a very simple design with gradient effect of my two favourite colours of Distress Ink pink (Picked Raspberry) and blue (Peacock Feathers). I blended the colours on a piece of white cardstock and sprayed it heavily with water – you might have noticed this is my favourite thing as of late 🙂

I just love that pink and blue together with the gold embossing powder – I think this combination looks super cool! I got inspired by one card from the 3rd day of Hero Arts blog hop by Virginia Lu. It was just gorgeous! I then added some vellum with sentiment that I heat embossed using black Ranger embossing powder, I added some punched out stars with Wink of Stella and glossy accent and I few golden stars on the edges of the design. Hope you like it:)

2233   4

Here is the version of the card that I originally wanted to go with, but then changed my mind and used navy blue card base and some golden stars instead:

How do you like the change?

1

I am entering this card in the following challenges:

Dream Valley Challenges – your favourite colour combination challenge #100

Lawnscaping challenge #100 – Birthday Celebration!

10846312_10205212996710320_8506688940304057320_n

Uniko Studio – challenge #18 – Birthday

ShowCASe your style – Birthday 

Stamplorations card challenge 

Happy Little Stampers challenge – Embossing 


Thank you for stopping by!

See you again soon!

Kamila

Two technique watercolour cards

Hello fellow crafters!

i hope you are having a great day!

Today I would like to share with you two similar card made with two different techniques.

I used once again Distress Inks as my watercolours, with some water. I like this colours combination a lot 🙂 Still finding new ways of implementing my one and only background stamp and embossing folder combo , which I just love!

First card is stamped with the background stamp and heat embossed with Wow white opaque embossing powder, then I blended Distress Inks on it and spayed it thoroughly with water, I really like the effect. My watercolour paper was not super good so that is as much as I could get out of it. but if you would try this technique on a thicker paper I found that the inks don’t bled the same way, it is better to just go in with your ink on a paintbrush instead.

1

2

3


The second card was made by inking the embossing folder with all the Distress ink colour then spraying them with water THEN putting the regular cardstock in and running it through the die cutting machine. This is the effect. It s hard to get a perfect affect with that technique. The ink moves around and so your project is messy as an effect, but I think it still looks pretty cool! It actually looks a bit 3D.

1

2


There is also another technique which I will present in another blog post, where you heat emboss the background using some stamp, then use watercolours or inks, and after all is dry you put it in the same pattern embossing folder and you will get that raised effect but without colour leaking over the embossed area. I tried to make that card for you today, but I was too tired and messed it up 😉 I will try to post it tomorrow since it is a really fun technique, but you need the same pattern stamp and embossing folder to achieve that effect though.

I hope you will stick around to see the result!

I am entering this card in the card challenge:

Stamplorations card challenge 

ShowCASe your style – Birthday 

SYSC09 birthdays

Lawnscaping challenge #100 – Birthday Celebration!

10846312_10205212996710320_8506688940304057320_n

Uniko Studio – challenge #18 – Birthday

Little Tangles – challenge #53  – watercolour

Thanks for stopping by!

See you tomorrow!

Kamila

Dry embossed and distressed card for you to get better

Hi there

Today I managed to squeeze in 2 blog posts. I made so many cards the other day! I love these creative days, when ideas just keep coming! Luckily I had time to use all of the inspiration and made the cards 🙂

I made this card when I was trying out some techniques with embossing folders and watercolours, you should see the other side of that front card haha Anyway I did not want to throw away this beautifully dry embossed card so I decided to go in with my Distress Inks! I went for a rainbow-y look and I made it a “feel better” card. I do not think I have enough of those. I decided to adhere the front of the card on the edge of the card base which I also chose to be this natural brownish colour. I die cut some banners with my Avery Elle Dotted Die set and used Gina K. design sentiment from One in a million stamp set, then added a few white accents with my gel pen and voila here it is, I hope you like it!

12233

I am entering this card in

Card Concept challenge #29 – Get well soon

Simply Create Too – Anything Goes 

Stamplorations card challenge 

Thank you for visiting! I hope you like the card!

Take care and I will see you again soon!

Kamila


Chevron stencilling with Distress Inks + tutorial video

Hi there!

Welcome to another blog post and this time two new cards!

This time I am using some Distress Inks to create two different cards, but the same technique.

The colours I am using is Picked Raspberry, Mustard Seed, Mowed Lawn and Salty Ocean. I used the mini blending tool from Ranger to apply the inks. They blend so easily and I just love how they combine and create new colours in between! Fantastic!

I used Memory Box Chevron Chic stencil, such a pretty pattern and created two of the same colour combination stripes. I used the first one vertically to create a Thank You card. I decided to go with the vellum stripe across the card with some gold embossing – I do not use that enough that’s for sure! I think it adds elegancy to the card on that vellum.

The other card front with chevron stripes I used horizontally to make a Happy Birthday card. This time I went with black background, additional colour matching stars and clear embossed, black sentiment.

3  3 (2)  3 2 1

Here is the video of making the two cards. I hope you will enjoy it!

If you do why not subscribing to my channel for more cardmaking videos! 🙂

I am entering these cards in the following card challenges:

Thank you card:

CAS on Sunday – challenge #52 Chevrons

Addicted to stamps – challenge #132 – Make your mark

Simply Create Too – Anything Goes 

Stamplorations card challenge 

Happy Birthday card:

Seize the Birthday – Anything goes challenge

Linky badge

Lawnscaping challenge #100 – Birthday Celebration!

10846312_10205212996710320_8506688940304057320_n

ShowCASe your style – Birthday 

SYSC09 birthdays

Uniko Studio – challenge #18 – Birthday

Addicted to CAS – mask challenge #57

Thank you so much for visiting! I hope you like what you saw and I inspired you to maybe try something new!

See you again soon!

Kamila


Embossed swirls on a softened watercolour background

Hi there!

Welcome to yet another blog post with a new card idea!

Today I would like to share with you this colourful card with shiny embossed swirls. I really like how the card turned out, but when I started working on the background I was not satisfied haha

This card was actually supposed to be similar to the previous card I made in the same colour combination (without the black) that looked like an eye cream leaking all over. I used a different watercolour paper, a much thicker one here and distress ink just did not want to cooperate so well, so I ended up picking up al that water with my baby wipe or tissue… I did not so many time that the colour you see here is a it washed out – pretty neat technique actually. I like how with crafting you can always find something new – unexpectedly 😉

Having that background for a few days, I decided I should do something with it! I like the colours and so I decided to use my background stamp by Hero Arts and Sizzix and heat emboss it in black. I love that black on rainbow kind of a look. I then added the banner from Avery Elle – Dotted Dies, I made it a little bit shorter and heat embossed best wishes using Wow – white opaque embossing powder. I then added a few sequins that would coordinate with the background and that was it. I used black card base to kind of “blend in” the swirls.

I hope you like it!

1

3 2


I am entering this card in the following card challenges:

Uniko Studio – challenge #18 – Birthday

Seize the Birthday – Anything goes challenge

Linky badge


Lawnscaping challenge #100 – Birthday Celebration!

10846312_10205212996710320_8506688940304057320_n

ShowCASe your style – Birthday 

SYSC09 birthdays


Addicted to stamps – # 132 make your mark 

Happy Little Stampers challenge – Embossing

CAS_Feb2015


Simply Create Too – Anything Goes 

Thank you for stopping by, I appreciate and read all of your comments, so they are always most welcome!

If you like what you see – subscribe to receive every post with a new card!

Take care and I will see you soon,

Kamila

Funky watercolour card!

Hi there!

Welcome to another blog post!

Today I would like to share with you a unique card. By that I mean that I know now it would be hard to make the exact same way again – believe me, I tried… 😉

The card is pretty simple. It involves Distress Inks and water, but the effect I got by moving the water around is spectacular – to me at least 😀

I love colours so this time I went with Mustard Seed, Picked Raspberry and Peacock Feathers. I blended the colours on the watercolour cardstock sprayed it generously with water and turned it upside down. The way the water dripped down gave a cool effect as you can see beneath:

1

I liked the background so much that I just did not want to cover it up, also covering it up meant covering up the whole card idea. So I went with a funky sentiment on top of the card, for the rest of the card to be the main view. I love how the water blended all three colours together creating these little canals. It totally reminds me of melting ice cream!

2


A few close-ups of the card. Including the close up of the lovely sparkly black star made out of black card stock, wink of stella and glossy accents. I just love this look, you can create your own glitter paper with the wink of stella and it looks great! As you can see I was making this card kind of last minute so the glossy accents were not completely dry… 🙂

4 3


I am entering this card in the following card challenges:

CASual Fridays CFC136 – Must Love Watercolour

Seize the Birthday – Anything Goes 

Linky badge

Uniko Studio challenge #18 – Birthday

Lawnscaping card challenge #100 – Birthday celebration!

10846312_10205212996710320_8506688940304057320_n


This is also my card for this weeks Sister Act card challenge as a DT!

Remember the challenge is Anything Goes – join us!


Thank you so much for stopping by!

If you like what you saw leave a comment and subscribe!

take care

Kamila


Chevron watercolour card

Hi there!

Welcome to another blog post 🙂

Today I wanted to share with you these two new cards I made using my chevron stencil and Distress Inks with water.

With the first card I used a gradient look and added some stars with wink of stella and glossy accents for the additional spark 🙂 I I made the stars by blending the same distress inks on white cardstock and then cutting them out with my stars punches. That way the matched the colours of the card exactly.

I made the sentiment the main focus of my card, I just love this one by Tim Holtz! It is so encouraging and warm sentiment. I stamped it using Versa Mark and then heat embossing with Wow white opaque embossing powder.

1

2 3

With the second card I went with shades of red, pink and some orange.  I also added stars but also some sequins matching the colours on the card. I went with the same sentiment, never enough encouraging cards!

1


A close up of the black stars, I used the wink of stella and glossy accents here also, the picture does not show exactly how awesome that glitter look is but more or less 😉

2

I am entering the card in the following card challenges:

CAS on Sunday – challenge #52 Chevrons

CASual Fridays CFC136 – Must Love Watercolour

AAA cards – game 33 – Orange U glad UR CAS

Addicted to stamps – challenge #132 – Make your mark


Thank you so much for stopping by!

If you like what you see please leave a comment and subscribe for more card creations!

Take care and see you next time!


KamilaÂ